Configure Webhooks
Use incoming webhooks to get real-time updates. To start activating your webhooks events, users can follow these next steps:
1. Login to your account
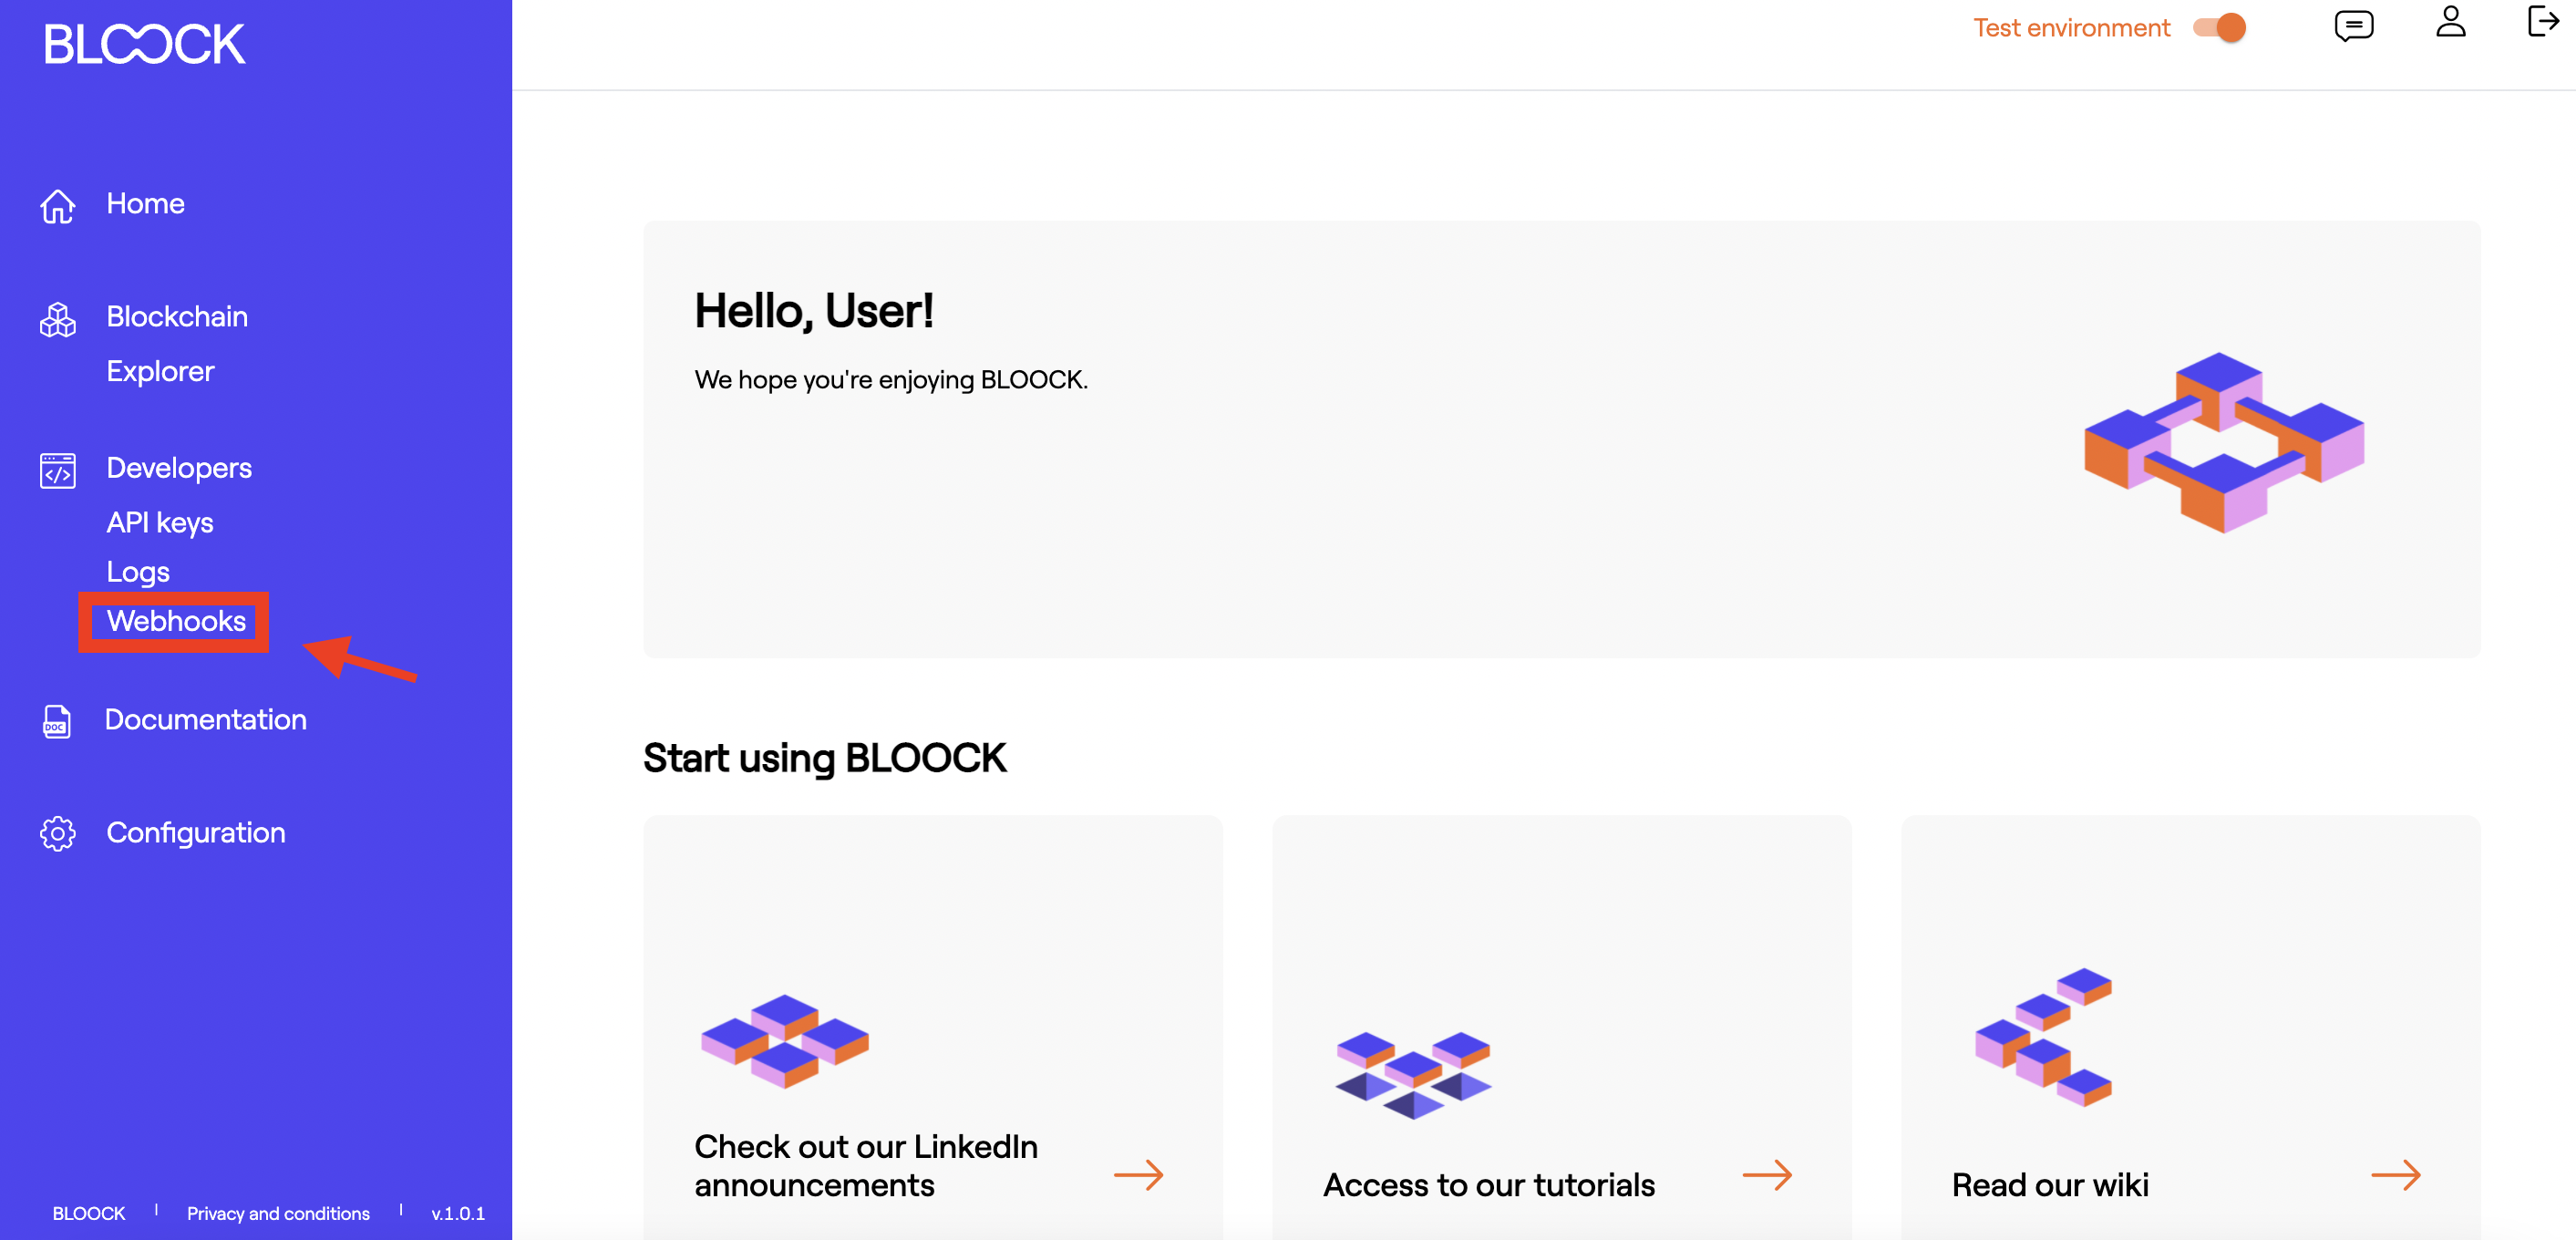
First, log in to dashboard.bloock.com. Then, select the webhooks section on the lateral sidebar.
2. Create a Webhook subscription
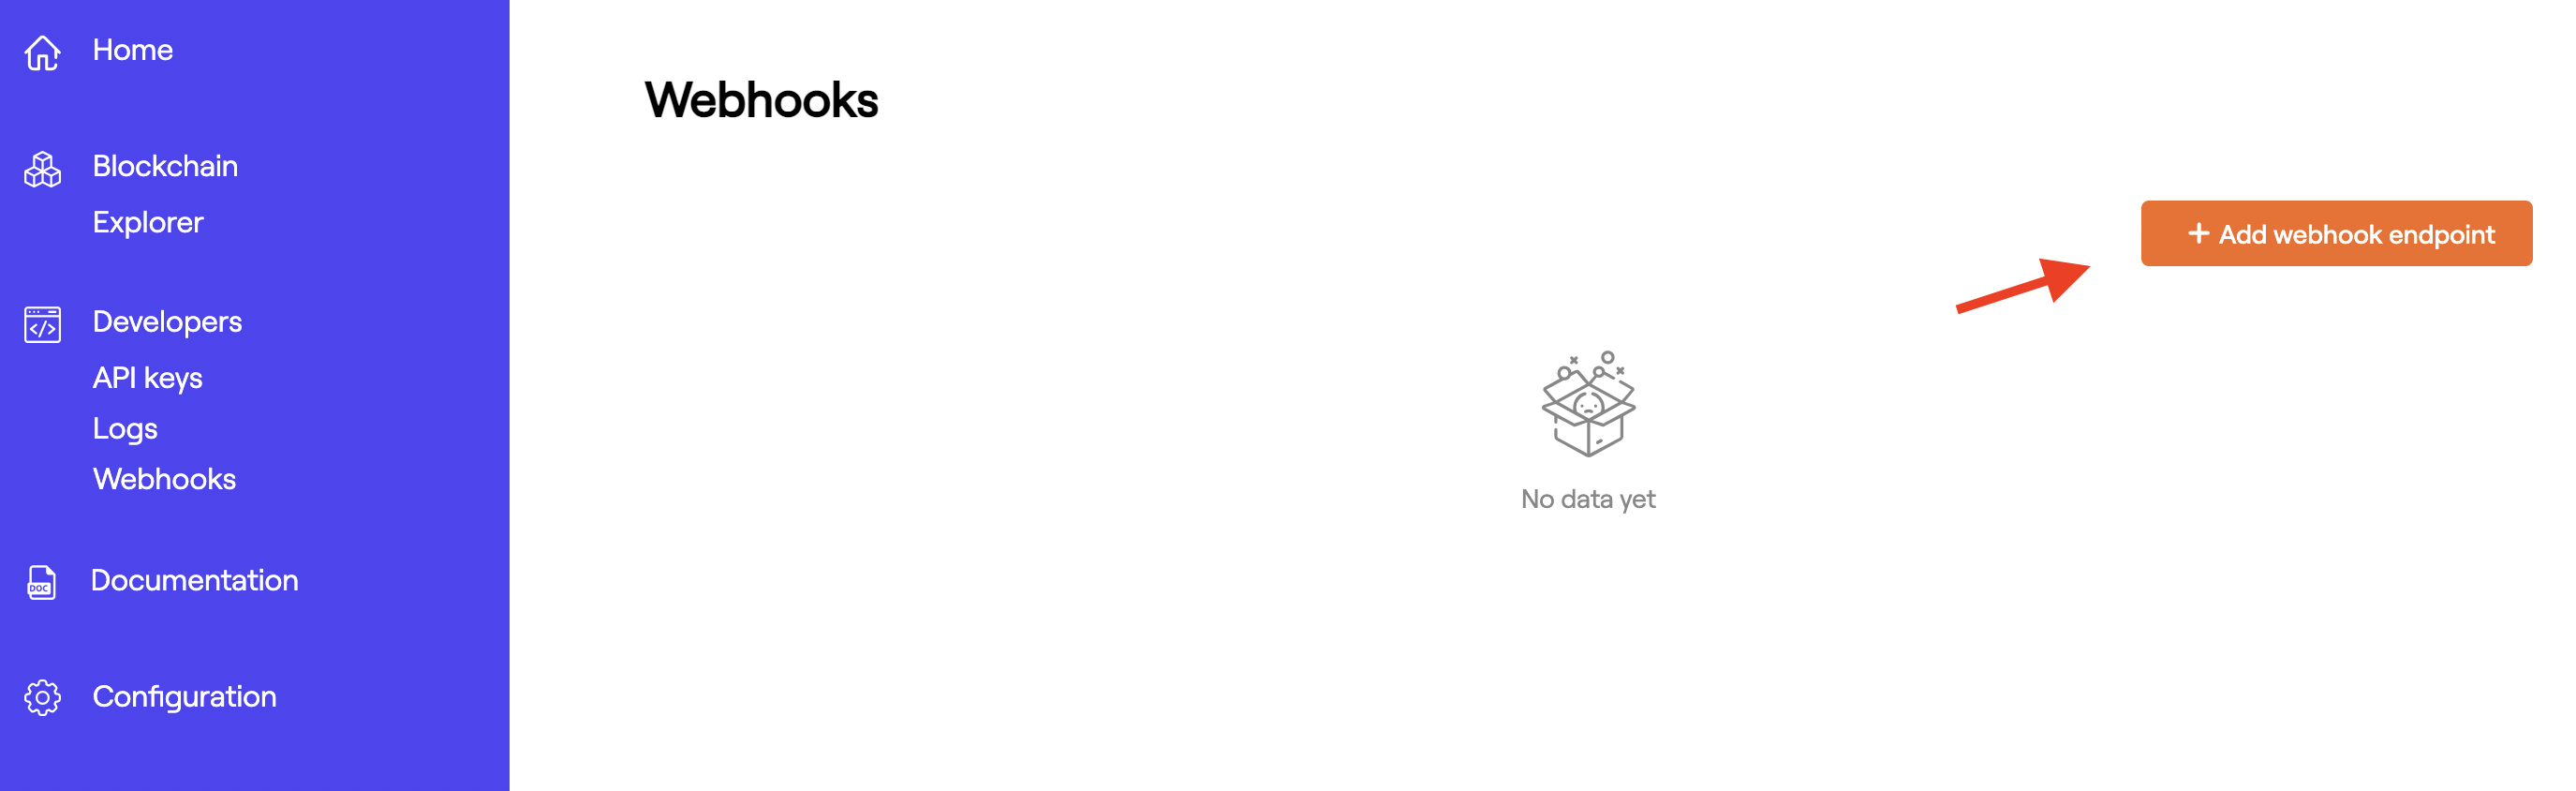
After that, can click on Add webhook endpoint in order to create a new webhook subscription.
3. Create a webhook endpoint
Creating a webhook endpoint is no different from creating any other page on your website. It's an HTTP or HTTPS endpoint on your server with a URL.
Set up an HTTP endpoint on your local machine that can accept unauthenticated webhook requests with a POST method. For example, this route in Flask is a map to a Python webhook function:
@app.route('/bloock_ethereum_mainnet', methods=['POST'])
def webhook():
    ethereum_mainnet_payload = request.json
In this example, the /bloock_ethereum_mainnet route is configured to accept only POST requests and expects data to be delivered in a JSON payload.
4. Associate your webhook endpoint
The following information must be provided:
- URL: https://your.apidomain.com/endpoint/bloock_ethereum_mainnet
- Event Listening: You must select the type of event you want to listen
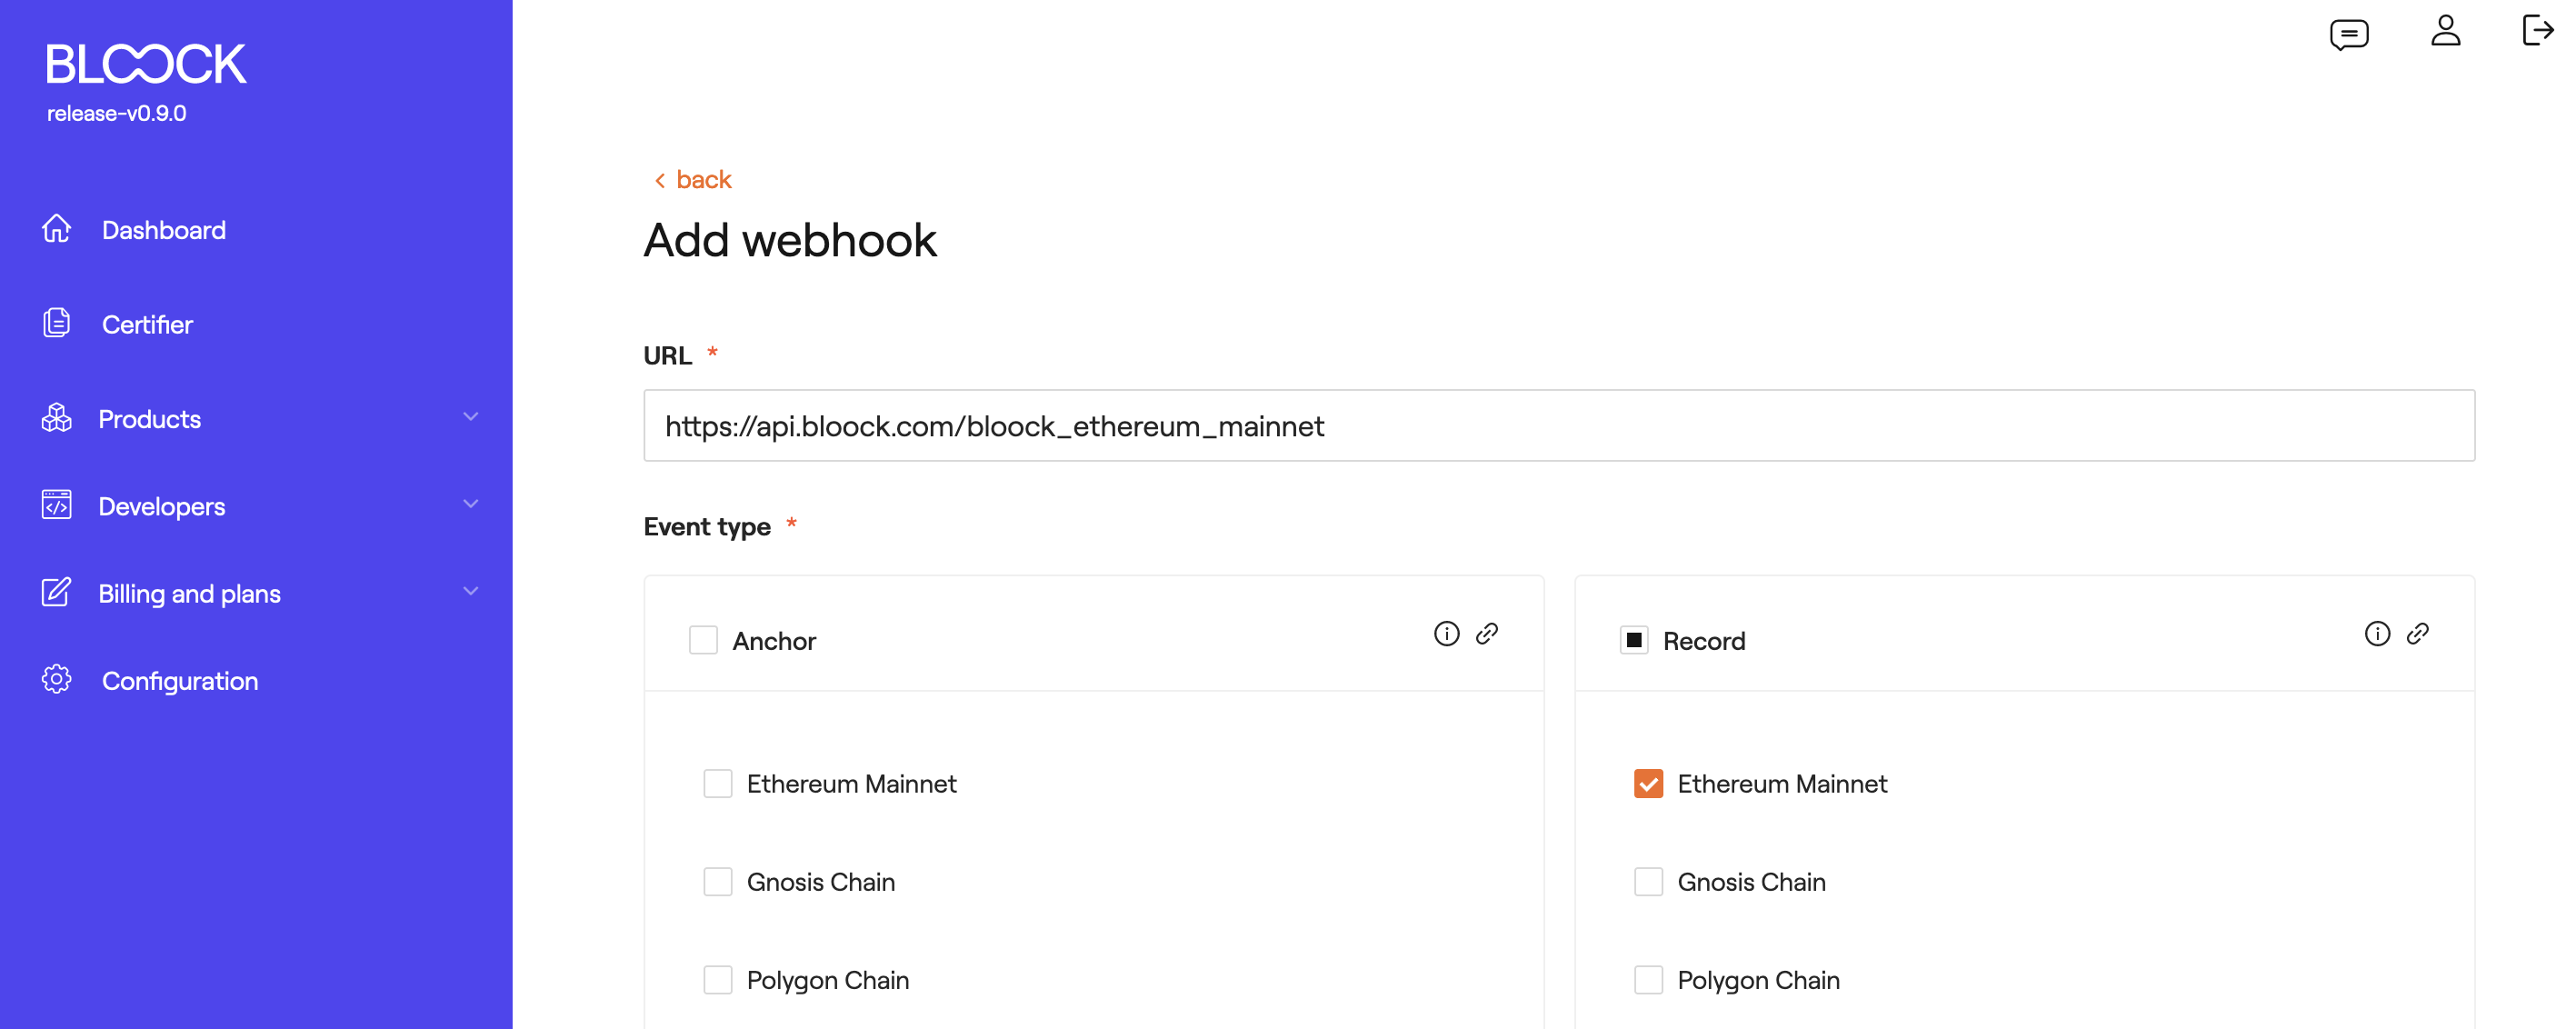
Once all the information required is filed in, click on Create button.
Return a 2xx response
Your endpoint must quickly return a successful status code (2xx) prior to any complex logic that could cause a timeout.
Use webhook signatures to verify that Bloock generated a webhook request and that it didn't come from a server acting like Bloock.
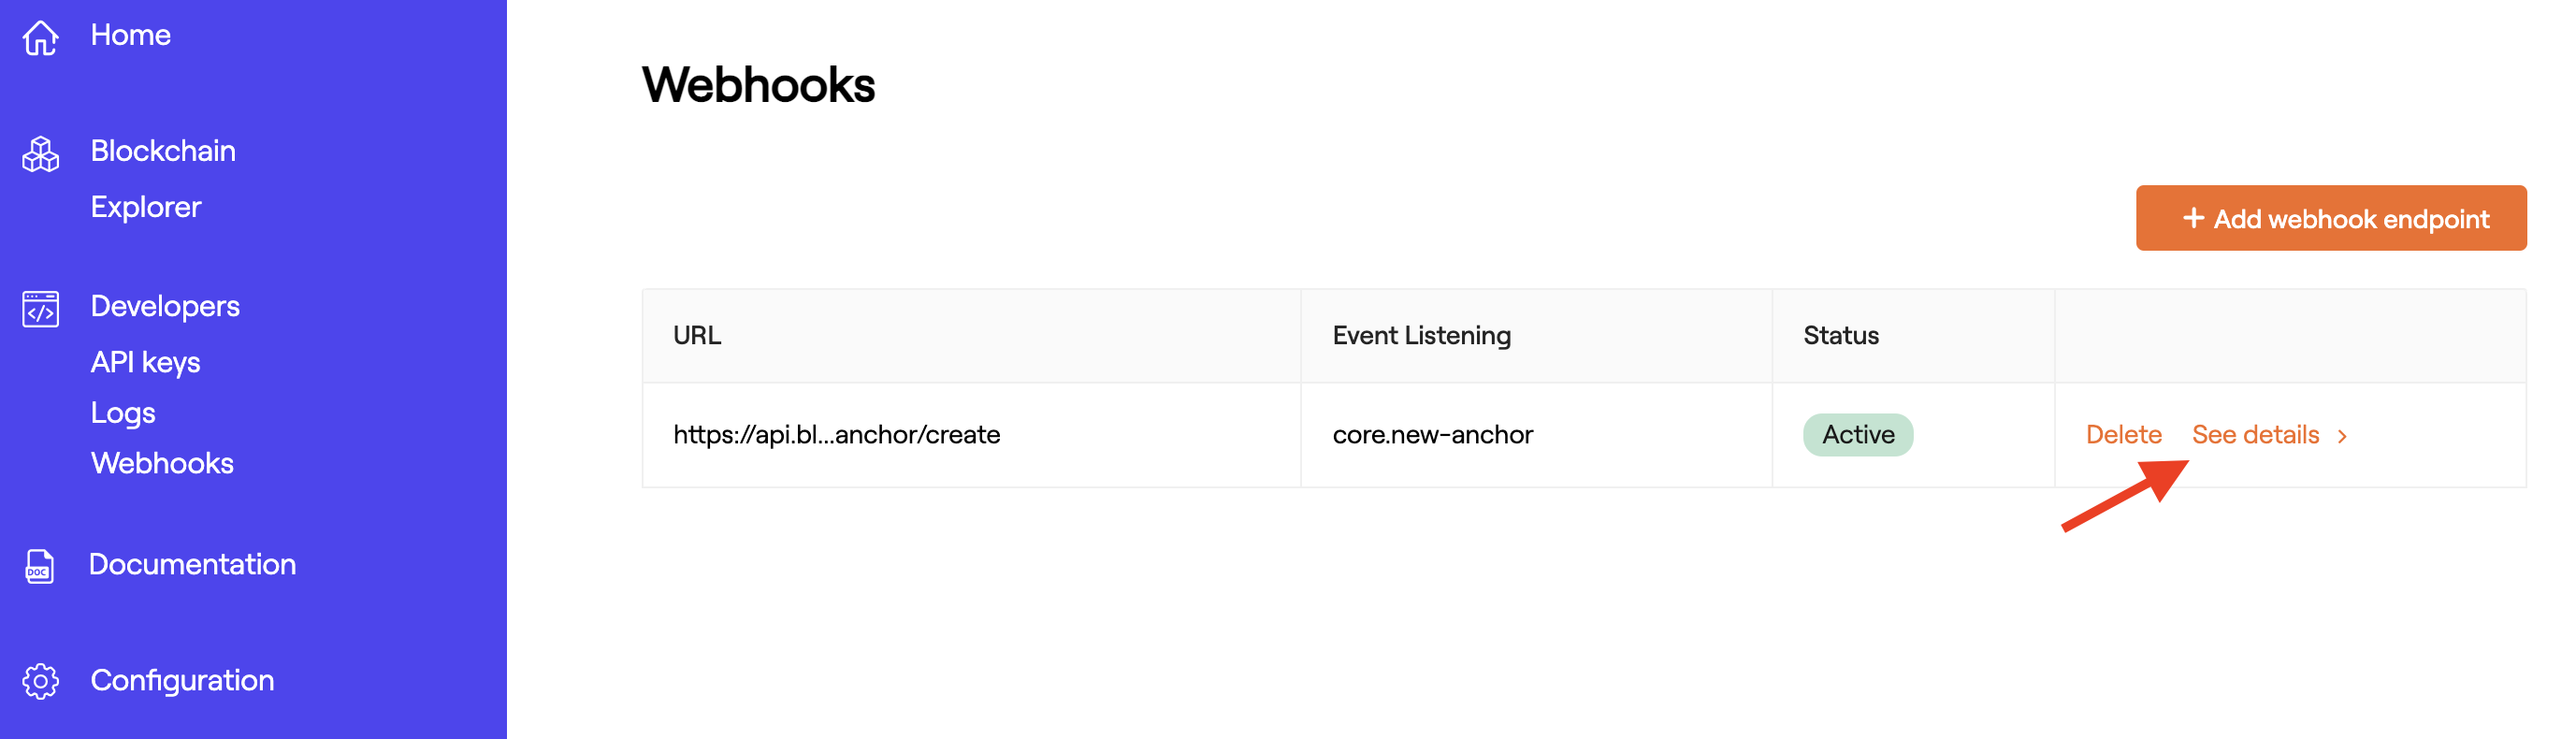
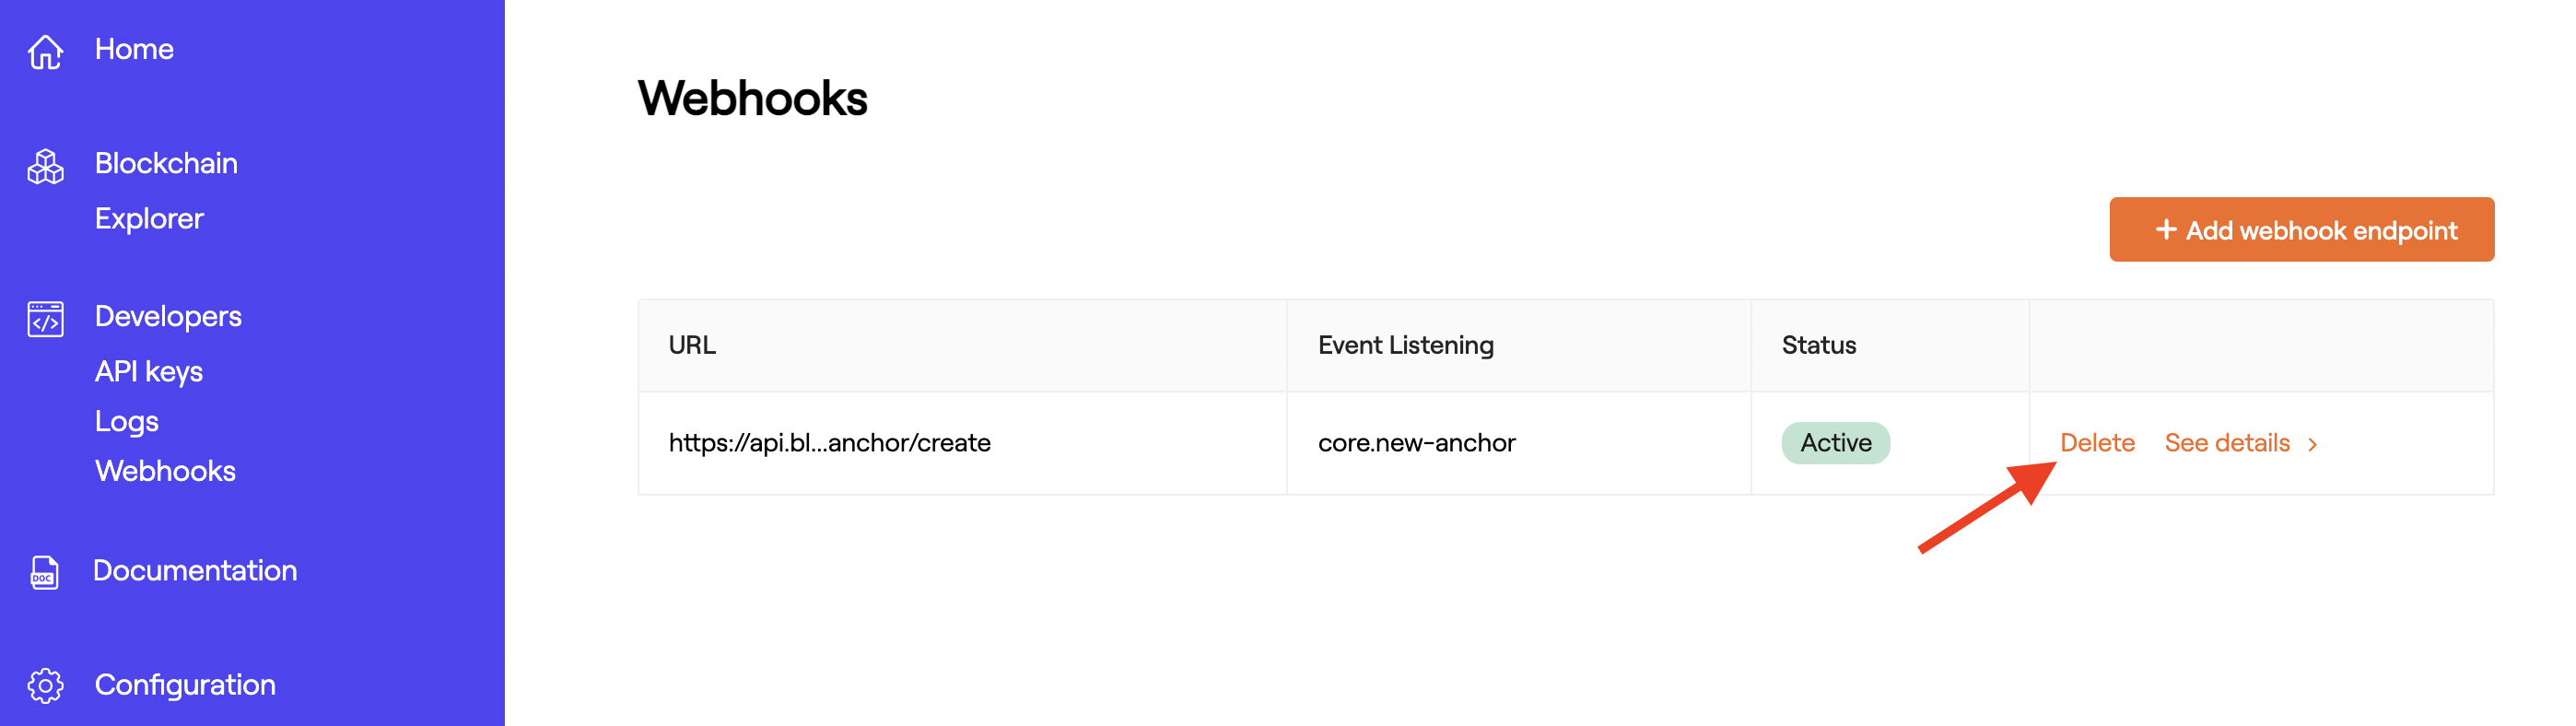
5. Watch your webhook list
Once your webhook is created, you should see it in your webhook list. You will see your webhook's details, including: the URL, the event that you're listening, and its status (either Active or Disabled).
It is important to understand how our system manages events failures. When a webhook is created, its default status is Active. However, this status can be changed to Disabled if we detect a persistent system failure. This happens if a series of failed responses are registered when we communicate with the API endpoint provided from your side.

6. Look for webhook details
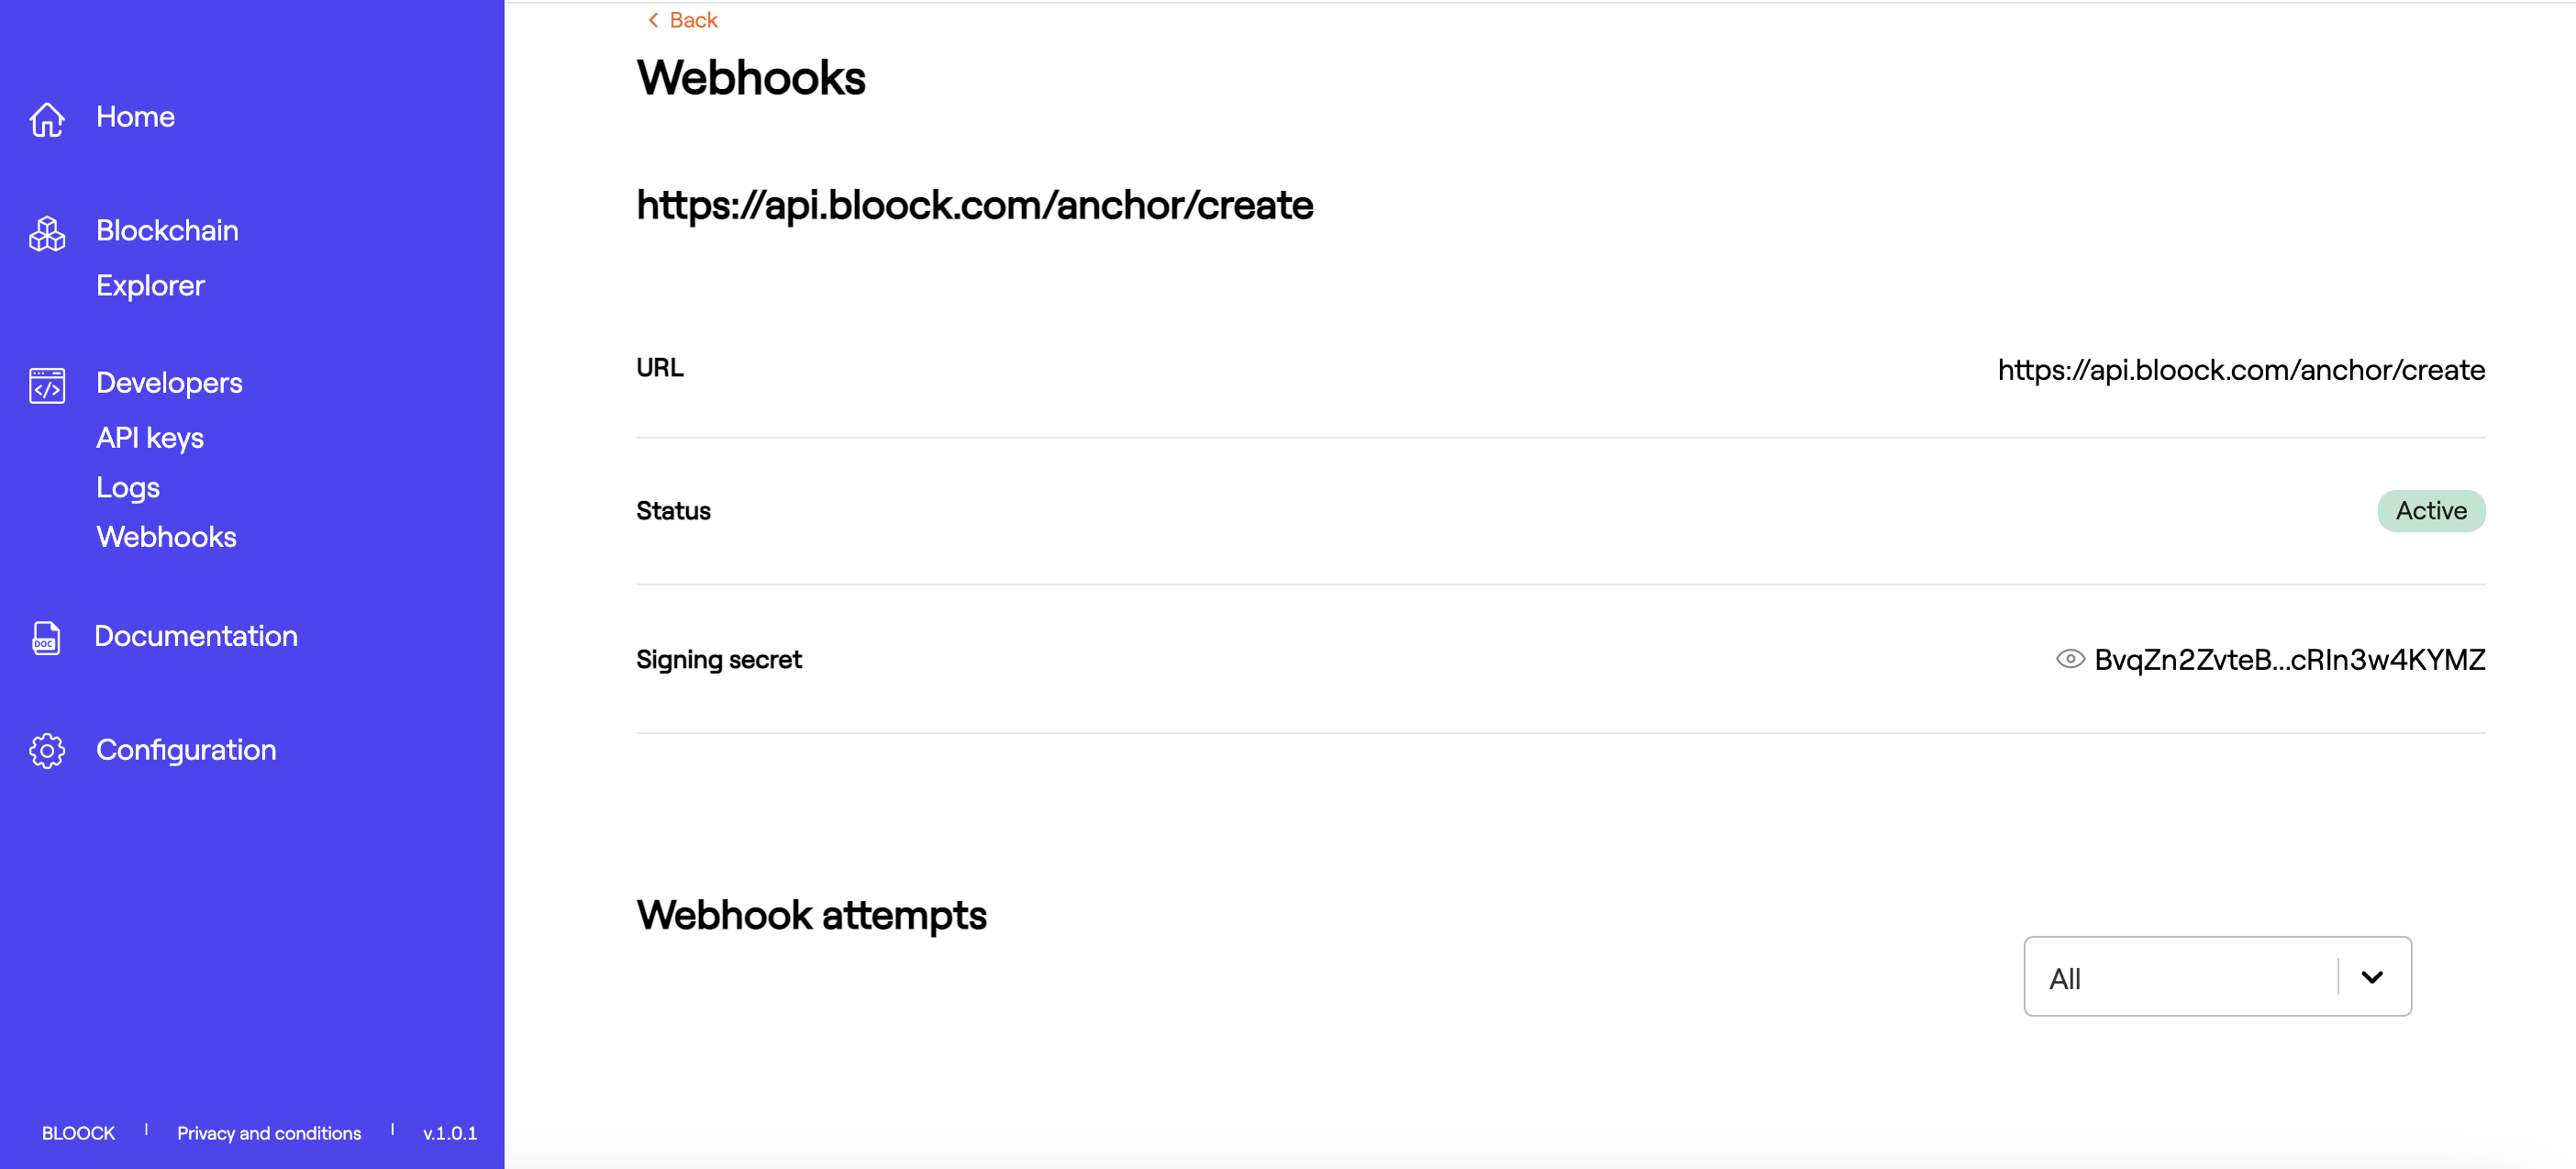
To check for your webhook information, click the See details button.
In this section, you'll see the URL, Status and the Signing Secret. The Signing Secret is what will help you validate the HMAC SHA256 signature which is used to verify all the webhook requests provided from BLOOCK.
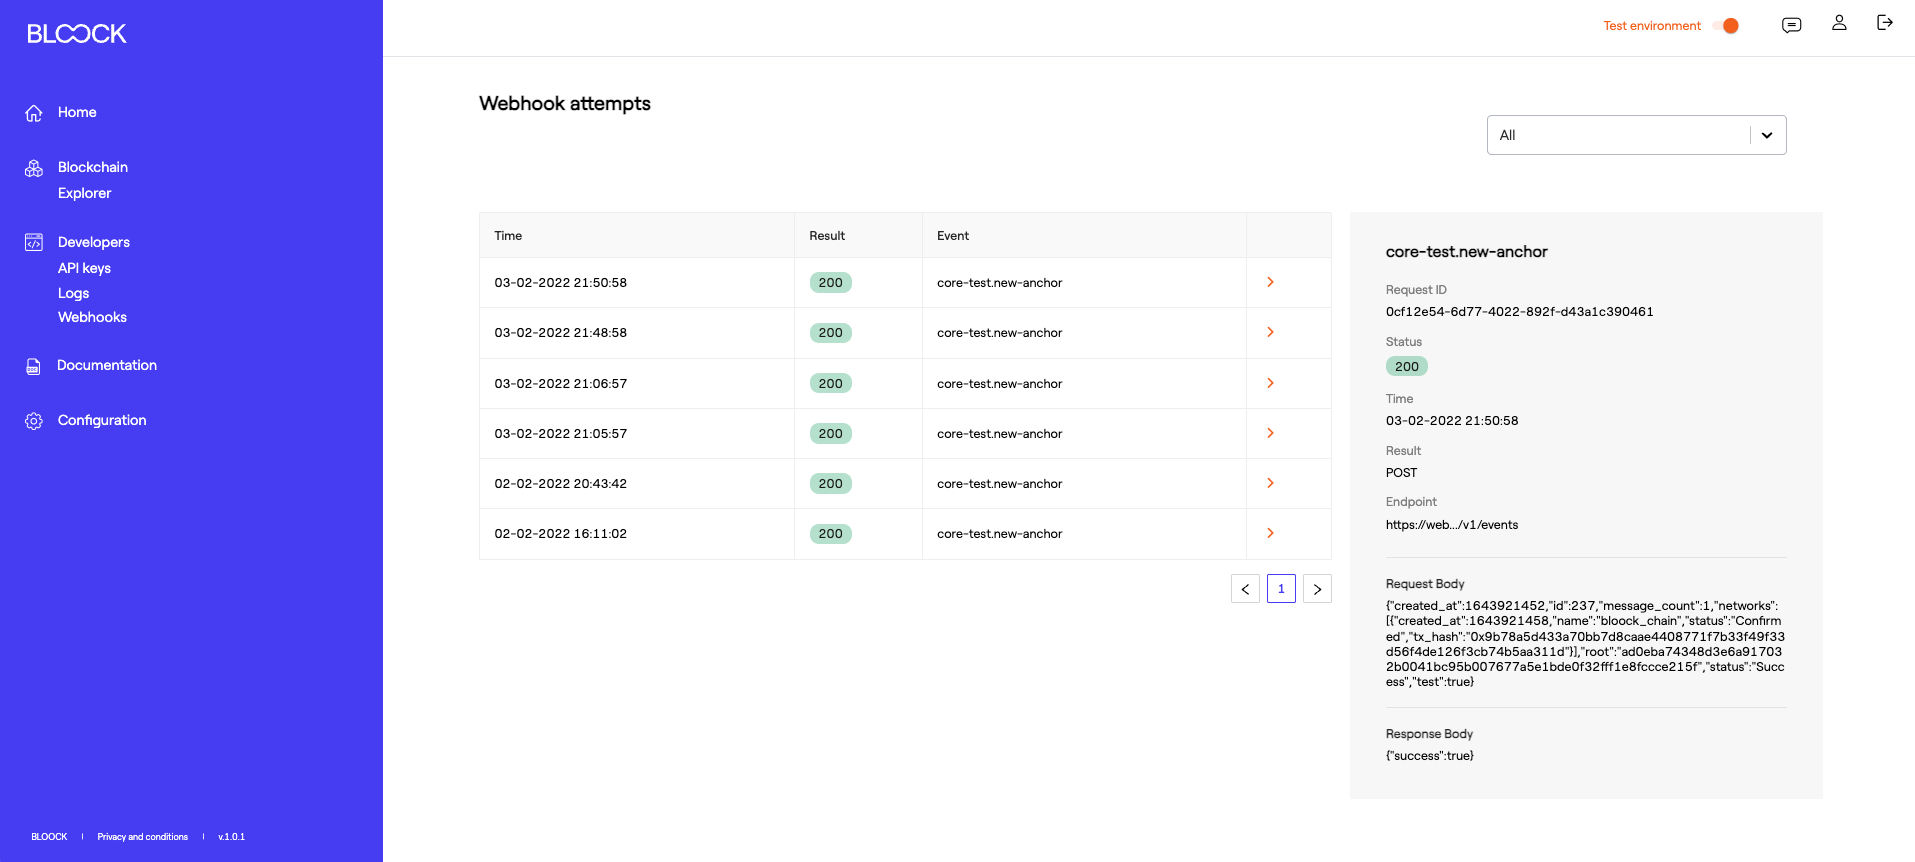
Every time we send you a new webhook event, Bloock provides you with a webhook attempts logger. With this function, you can check the webhook's response.
At the top of the logger, you'll find a Combobox filter where you can check all your webhook responses according to their status: Success or Error.
In detail, for each webhook, you will be provided with:
- Request ID
- Status: the status code response from your API endpoint listener.
- Time: the time when we send the request to your API endpoint.
- Result: the method request (GET, POST ...)
- Endpoint: the API endpoint URL provided when the webhook was created.
- Request body: the request body we send.
- Response body: the response from your body.
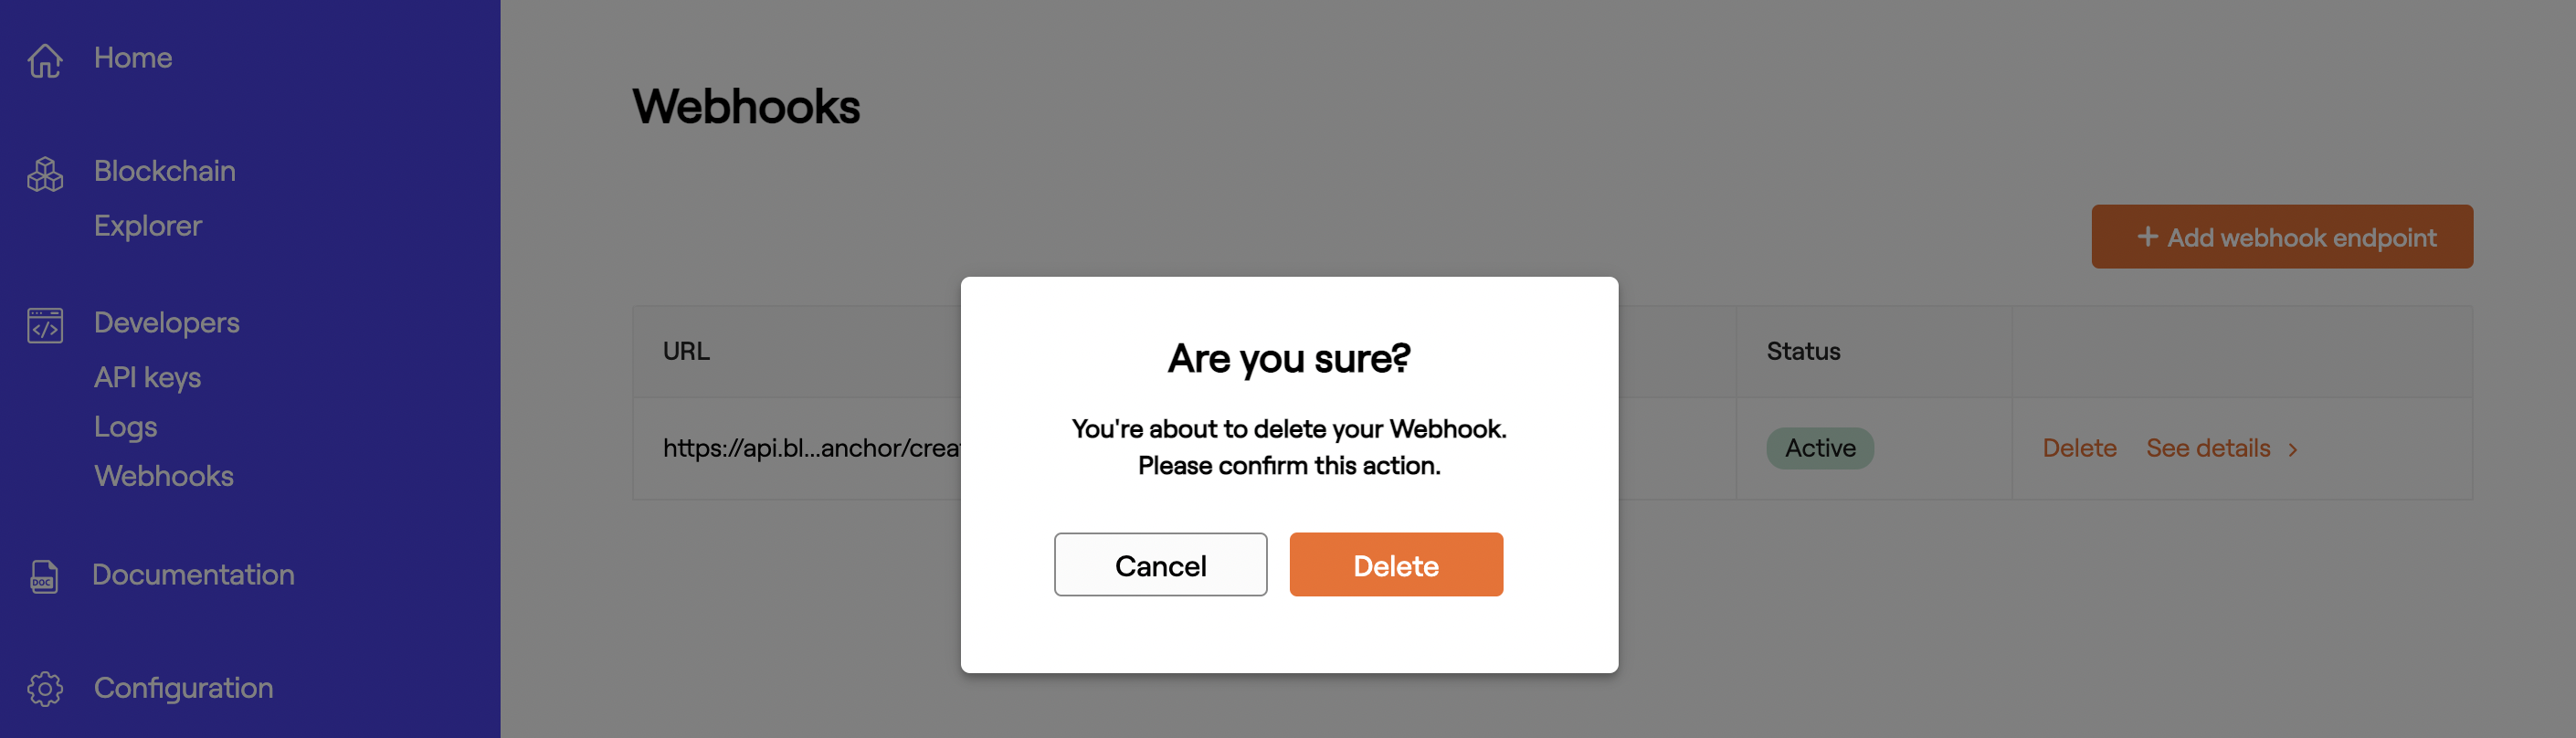
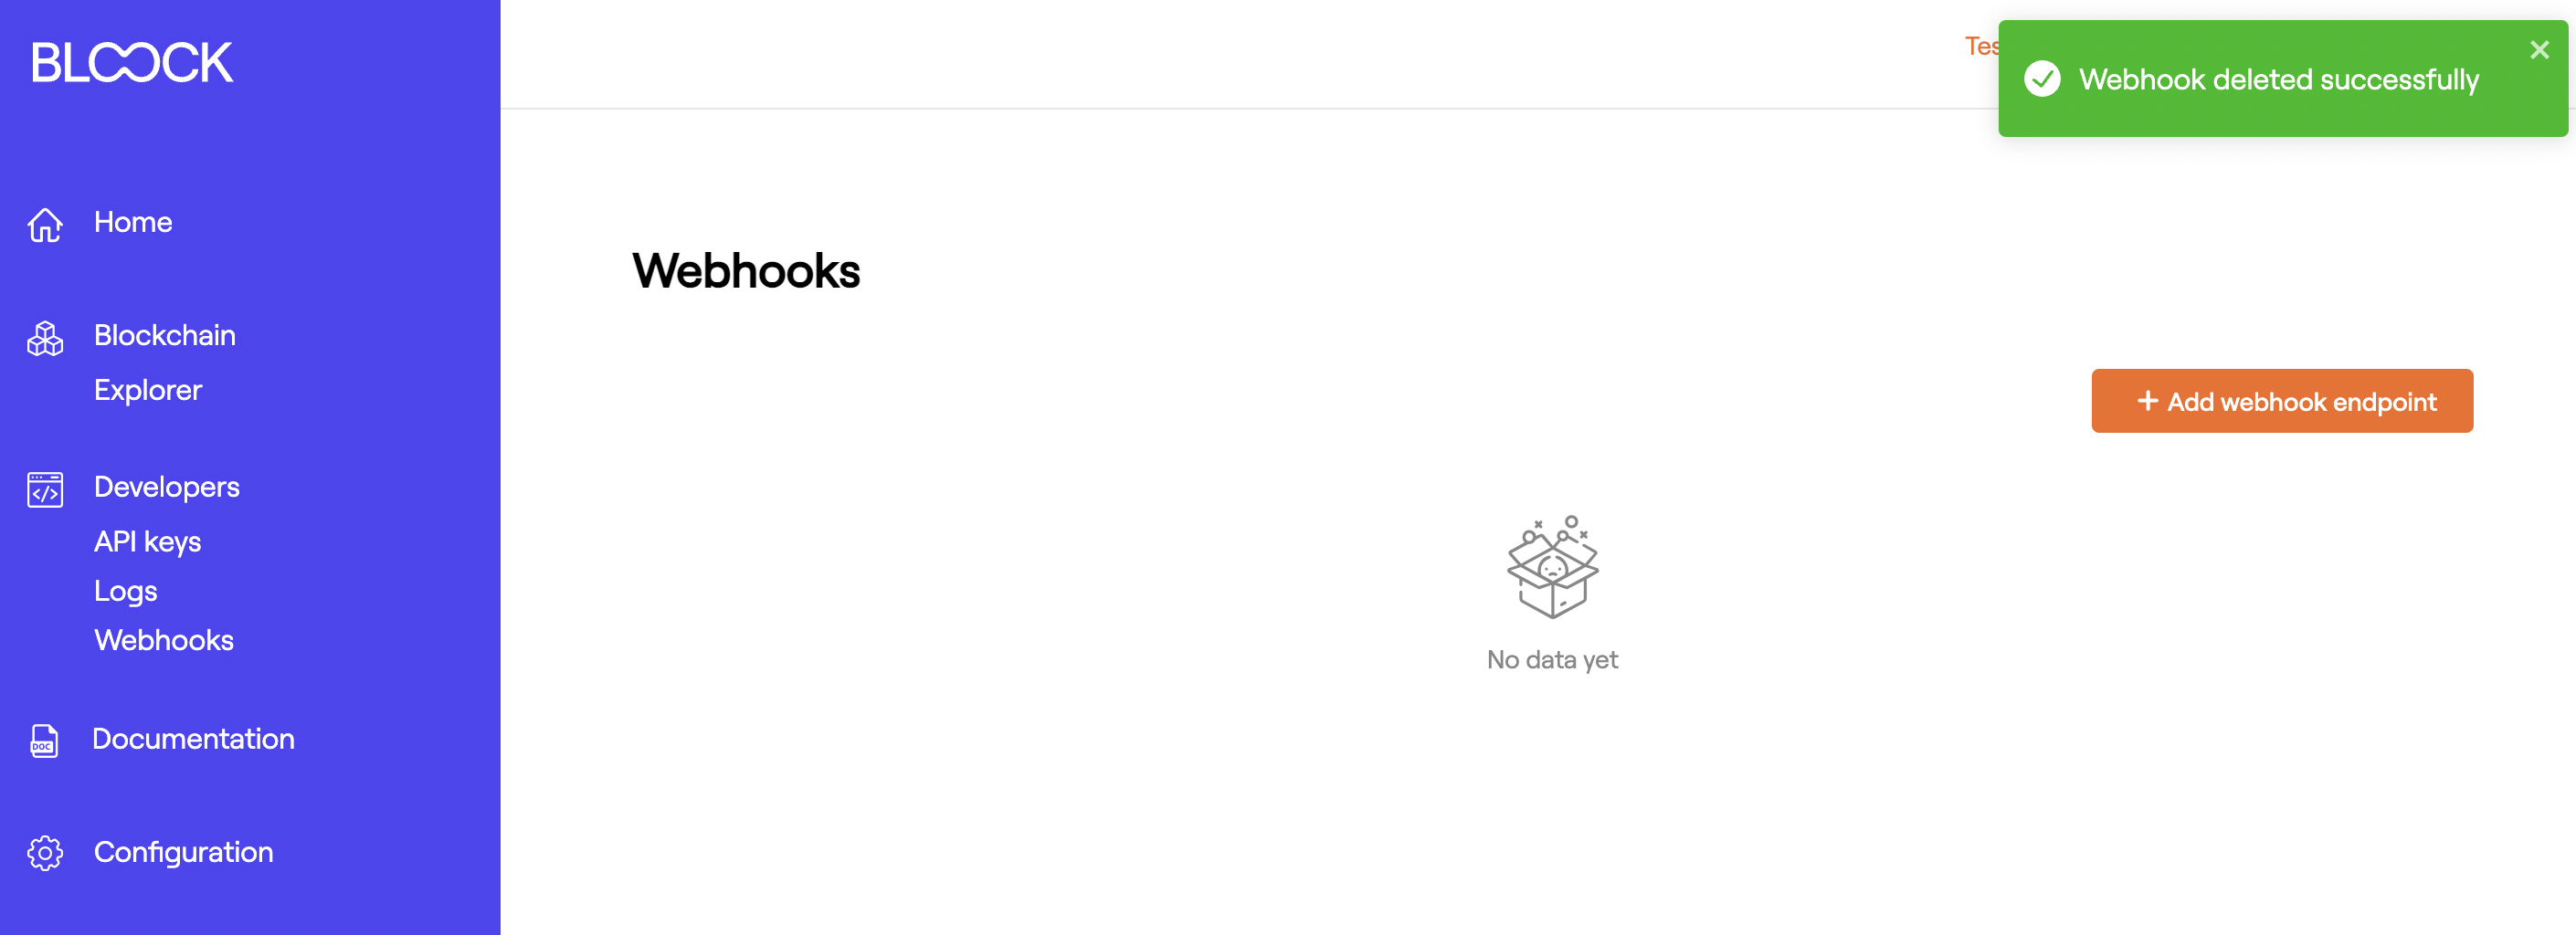
7. Delete webhook event
To delete or unsubscribe from a webhook event, go back to your webhook list, and choose the Delete button.
Finally, click the Delete button on the popup and the webhook will be erased.